Drawings in Fashion Design
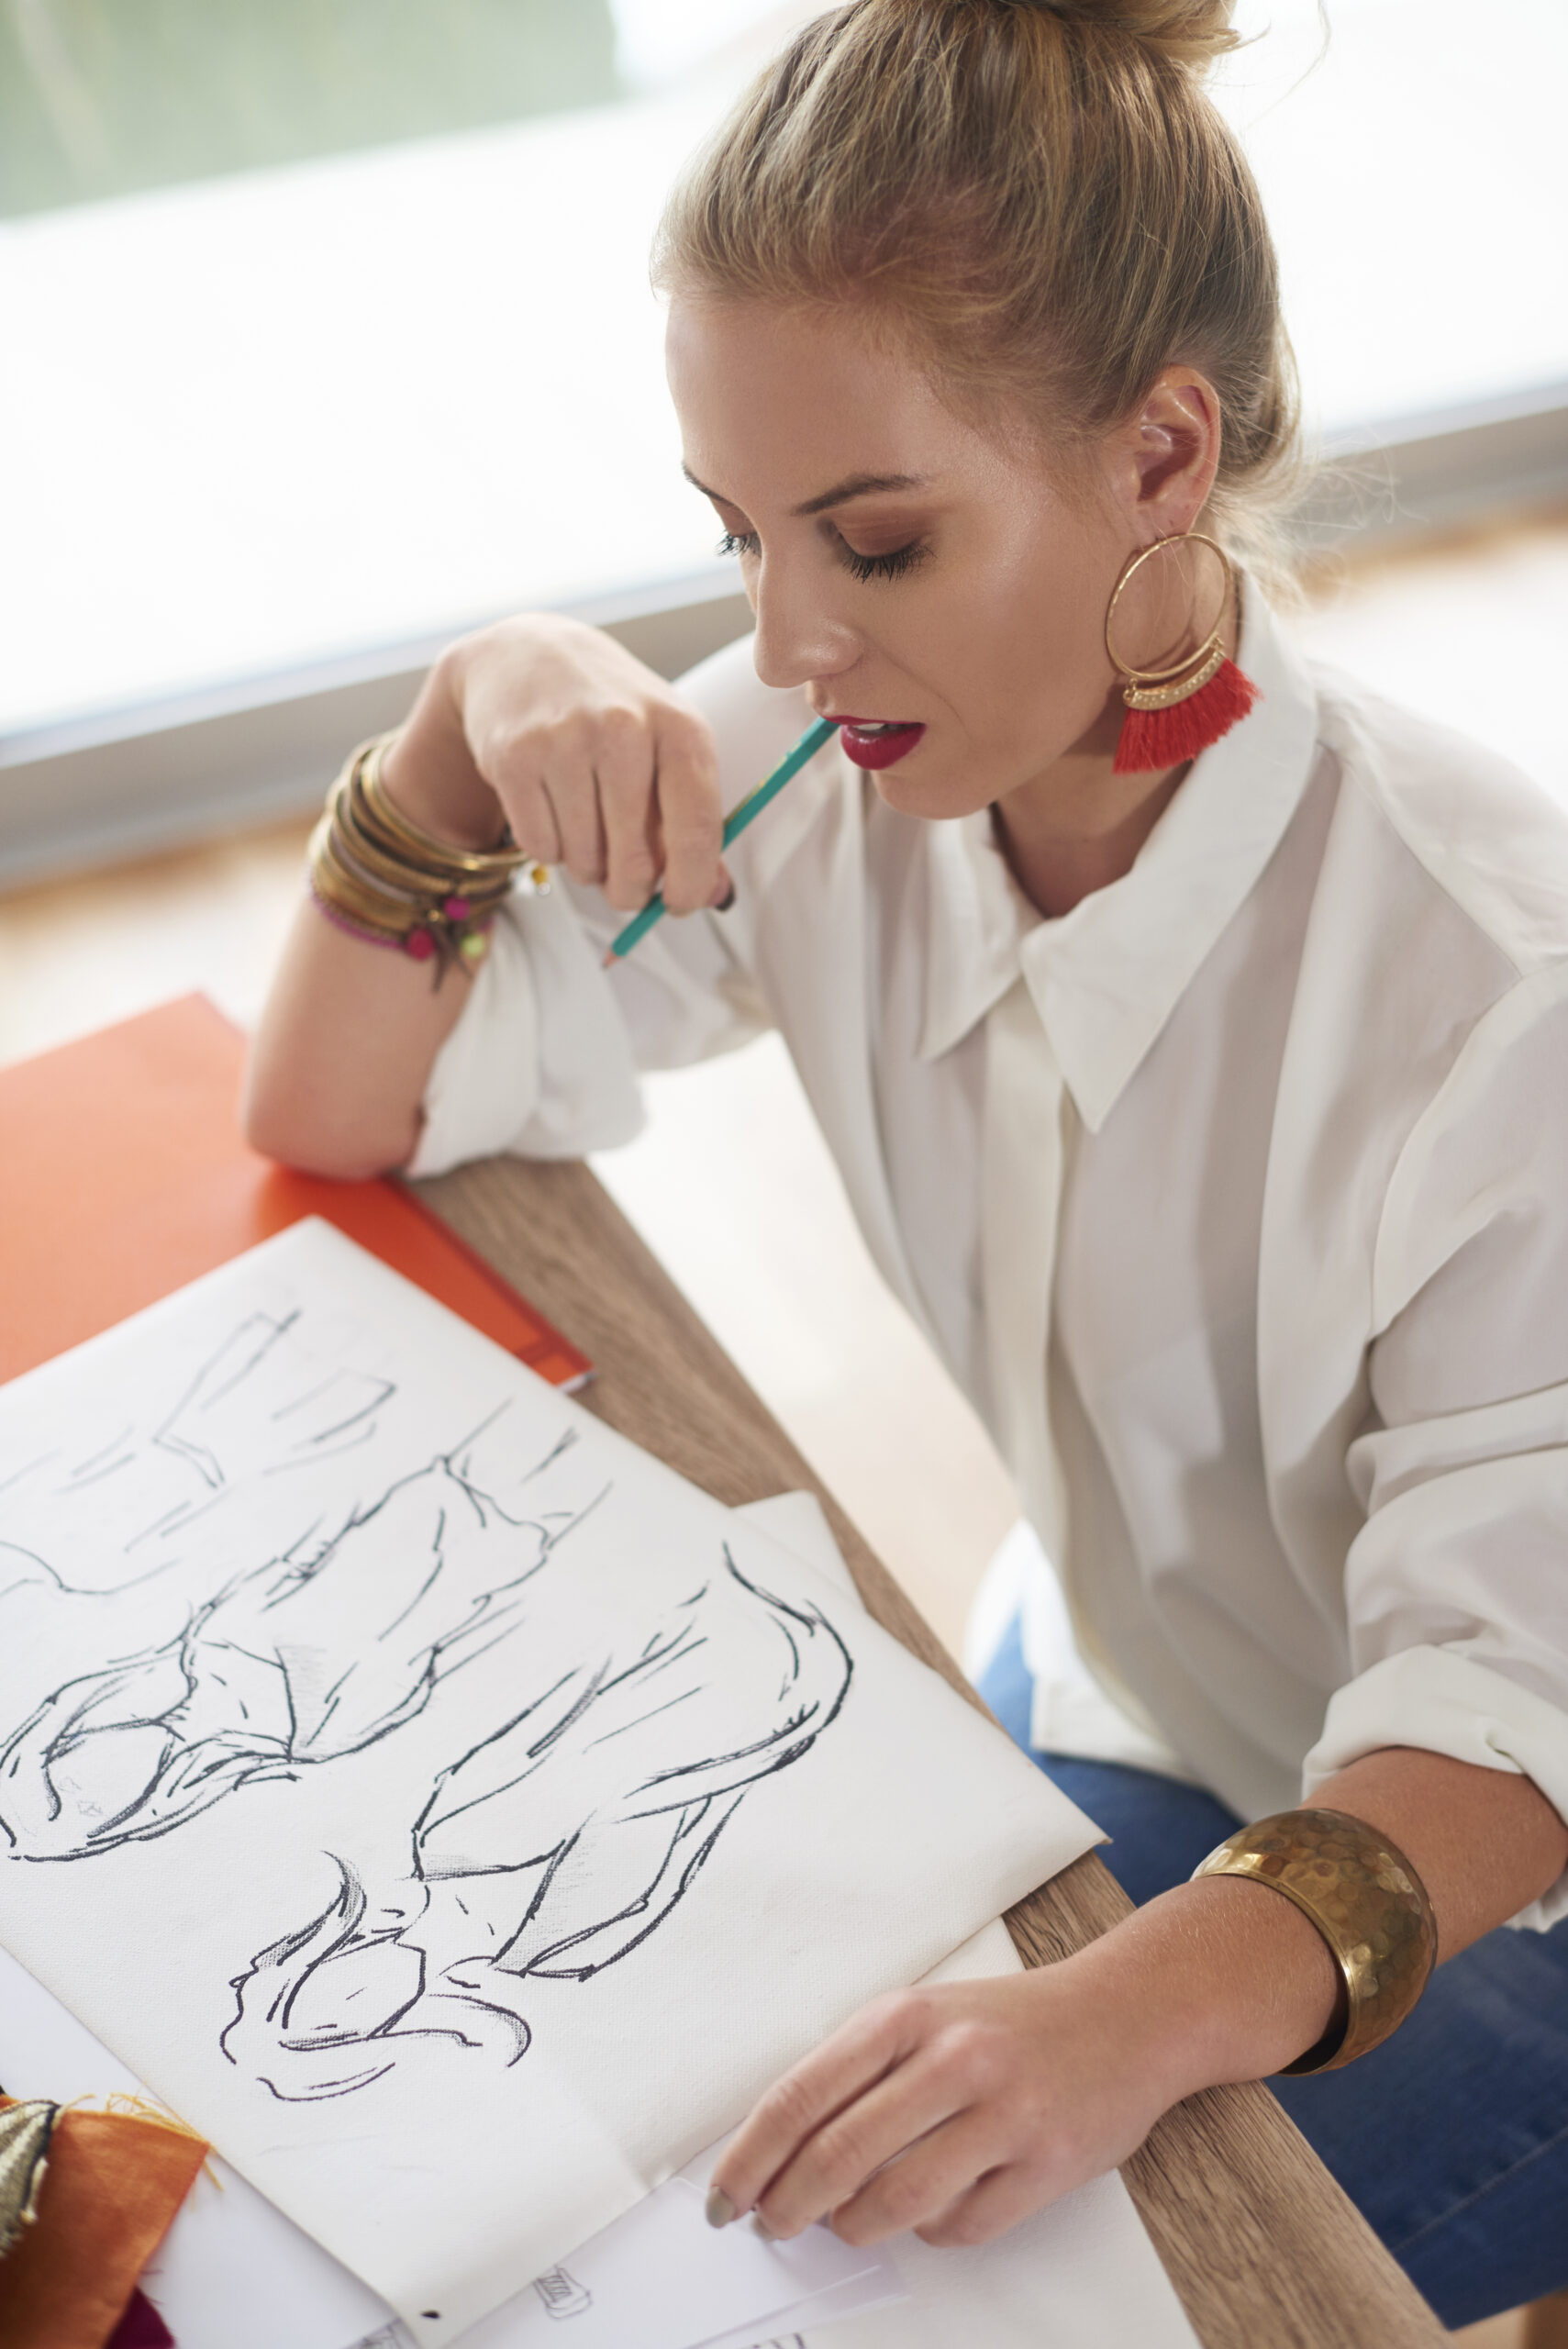
Drawings are the backbone of the whole design process, the link between the initial idea and the final product. These are not just artistic representations but tools that help designers to visualise their ideas, communicate and refine their designs before production starts.
Fashion drawings allow designers to try out different styles, fabrics and silhouettes. They are a visual map, so the creative idea aligns with the practical execution. And they help to communicate ideas to clients, team members or manufacturers, to avoid misinterpretation.
And fashion drawings are also important for trend forecasting. Designers use their drawings to propose new ideas that can influence future trends. In this fast paced industry, having a solid foundation in drawing can make a designer stand out and stay ahead of the game.
And these drawings are part of a designer’s portfolio. They show creativity, technical skills and understanding of the artistic and functional side of fashion, so important for career and networking.
Must Haves for Fashion Designer Drawings
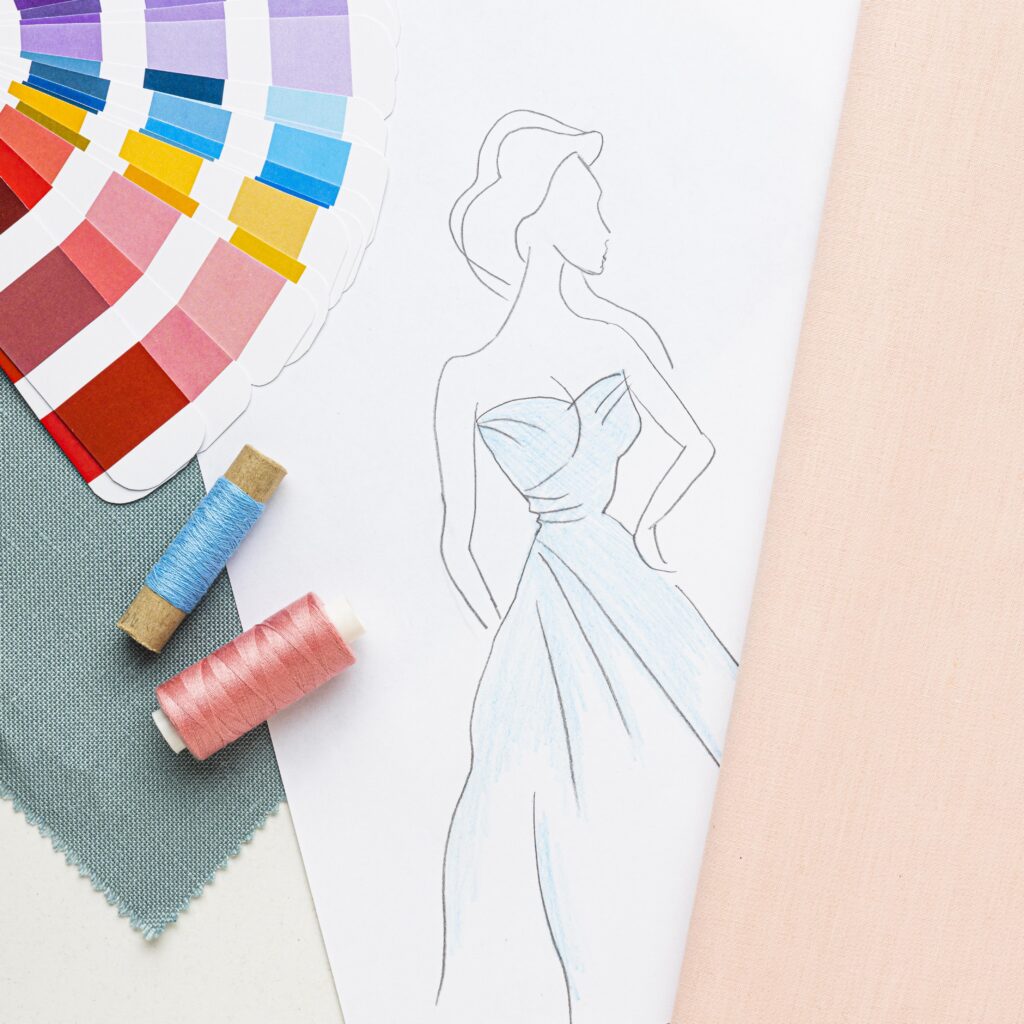
Professional and effective fashion designer drawings require the right tools. These tools not only make the drawings better but also faster and more fun. Here are the must haves:
1. Sketchbooks and Paper
- Smooth or slightly textured sketchbooks are best for detailed fashion drawings. Acid free paper so your drawings don’t fade or disintegrate over time.
2. Pencils and Erasers
- A range of pencils, soft (2B, 4B) for shading and hard (H, 2H) for outlines is key.
- Kneaded erasers for removing pencil marks without smudging and mechanical erasers for small details.
3. Markers and Coloured Pencils
- Alcohol markers for smooth and vibrant colour and coloured pencils for precise detail and texture.
4. Rulers and Measuring Tools
- Clear rulers, French curves and fashion templates for accurate proportions and clean lines. These are especially useful for technical drawings.
5. Mannequin Templates
- Croquis or pre-drawn mannequins save time and keep proportions consistent across multiple drawings.
6. Digital Tools
- Tablets and software like Adobe Illustrator, Procreate and CorelDRAW are becoming a must have for digitising drawings. Styluses with pressure sensitivity allow for a smooth transition from traditional to digital.
7. Lightbox
- A lightbox is useful for tracing and refining designs, especially when working on layered details like embellishments or garment construction.
Having the right tools not only makes fashion designer drawings better but also gives designers the freedom to focus on bringing their ideas to life without technical restrictions. Invest in these and you’ll have a solid foundation for producing professional designs.
Proportions and Anatomy for Fashion Sketching
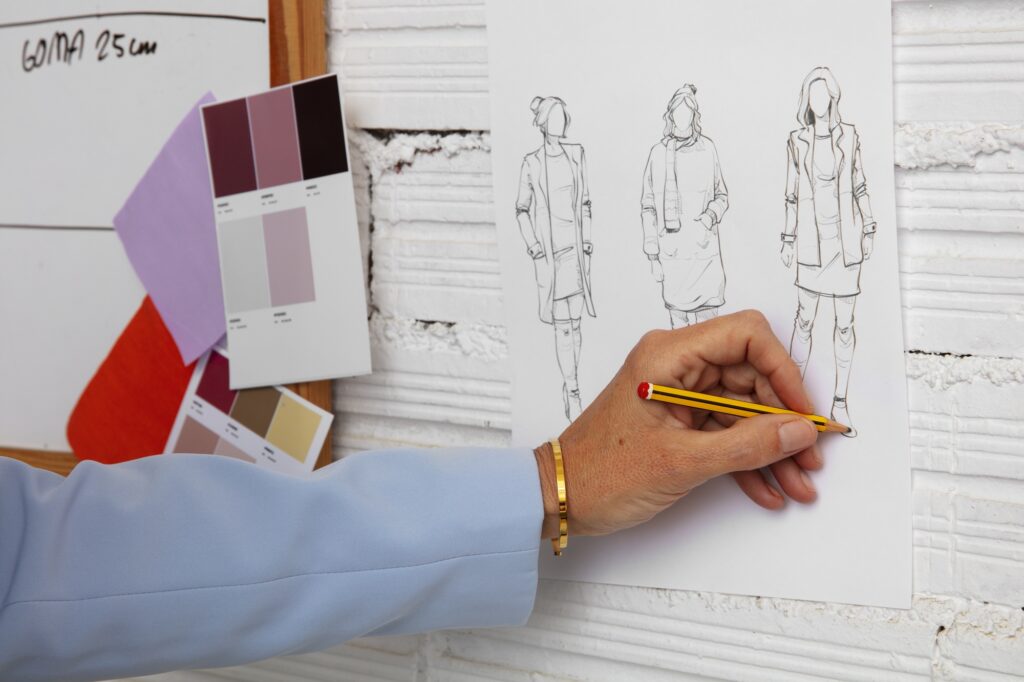
Proportions and anatomy are key to creating realistic and beautiful fashion drawings. Fashion drawings don’t have to be 100% anatomically correct but they do follow certain proportions to show garments and accessories well.
Fashion Drawing Proportions
- The “9-Head Rule”: Fashion figures are usually drawn 9 heads tall compared to the average human figure which is 7 heads tall. This elongation gives a elegant and stylized look perfect for showcasing clothes.
- Balance and Pose: Balance is key in fashion drawings. The “plumb line” technique helps designers to align the figure’s weight, for realistic poses. Dynamic poses can add movement and bring sketches to life.
- Body Landmarks: Knowing where to place the key features—shoulders, waist, hips, knees—helps in being accurate. For example the waist is usually at the 3rd head and the hips at the 4th.
Anatomy for Fashion Designers
- Focus on Movement: Fashion figures should look natural and fluid. Don’t stiffen the poses by bending the elbows, knees or waist.
- Simplify Complex Anatomy: Break the body into simple shapes—ovals, rectangles and lines—to sketch fast and accurately.
- Practice Hands and Feet: Hands and feet add expression to a drawing. Even simple, stylized shapes can give personality and elegance.
Exaggeration for Effect
Fashion drawings often emphasize certain areas, like elongated legs or more defined waist to show the garments flow and fit. Knowing how to balance these exaggerations with anatomy ensures the clothes are the focus and the figure is just a prop.
Practice and study live models, photos or other fashion drawings to improve your anatomy. Good proportions and movement skills will give you great sketches.
How to Draw Fashion
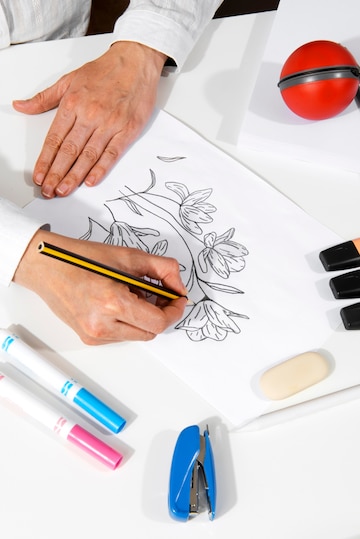
Drawing fashion designers’ drawings requires a process that turns abstract ideas into clear, detailed drawings. Here’s a step by step guide to help you create professional and effective fashion illustrations:
1. Start with a Croquis
- A croquis, or a basic body outline, is the foundation of your fashion drawing. Use pre drawn templates or draw your own, make sure it’s proportionate and balanced.
- Focus on dynamic poses that match your design concept.
2. Silhouette
- Draw the overall shape and structure of the garment, like an A-line dress, a fitted blazer or a flowing gown.
- Keep the lines light in this stage so you can make adjustments.
3. Garment Details
- Add seams, pleats, darts and gathers. These details will add realism and functionality to your drawing.
- Highlight key features like collars, cuffs, buttons, zippers or embellishments.
4. Fabric Flow and Texture
- Use curved lines and shading to show how the fabric drapes or moves. For example, soft fabrics like chiffon should have soft, gentle lines, while stiff fabrics like denim should have sharp edges.
- Add texture using hatching, stippling or layering to depict materials like lace, leather or knits.
5. Color and Depth
- Use markers, colored pencils or digital tools to bring your drawing to life. Blend colors to create gradients, add depth.
- Add highlights and shadows to show light interaction, make the garment look real.
6. Accessories
- Draw shoes, bags, jewelry or hats to complete the look. Accessories can make your design and style.
7. Finalize the Drawing
- Clean up any stray lines and refine details to make it look polished. Use erasers or digital editing tools to perfect the illustration.
8. Label and Comment
- Add notes to describe materials, patterns or construction details. Labels are very helpful when sharing your designs with a team or manufacturer.
9. Digitize the Drawing
- Scan or redraw using digital tools. Digitizing makes it easy to share, edit and incorporate into presentations or mood boards.
By following these steps you can create detailed and effective fashion designers’ drawings for your personal projects, client presentations or production. Practice regularly to improve your skills and your style.
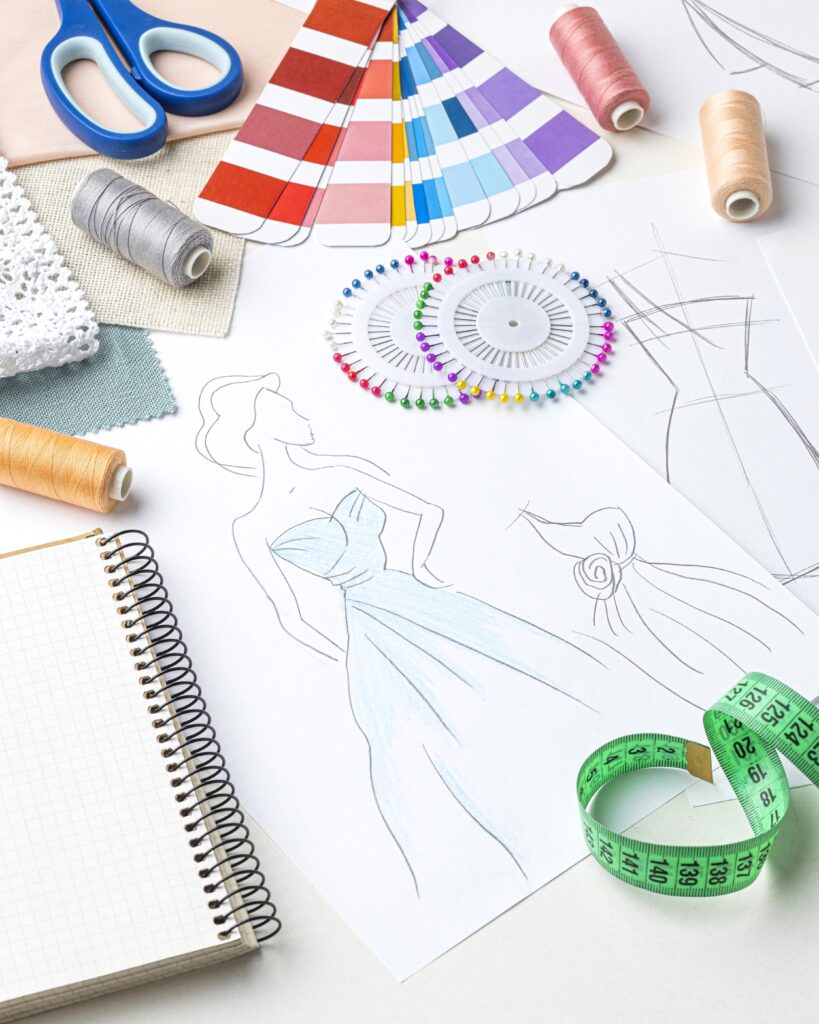
Adding Details to Your Designs
Details in a fashion designer’s drawing can turn a simple sketch into a beautiful and professional design. These details show the intricacies of the garment and help to convey the designer’s message more. Here are some ways to add to your fashion illustrations:
1. Shading for Depth
- Use light and shadow to make your drawings 3D.
- Gradual shading will show the curves and folds of the fabric.
- Tools: Soft pencils, blending stumps, or digital brushes.
2. Pattern
- Add patterns like floral prints, stripes or polka dots by simplifying the elements in your drawing.
- Consistency and alignment is key, especially in seams and edges.
- Markers or digital software for clean and precise patterns.
3. Textures
- Capture the feel of fabrics like silk, velvet or wool by using:
- Silk: Smooth lines with subtle highlights.
- Velvet: Rich shading with soft edges.
- Wool: Rough textures with hatching or stippling.
4. Movement
- Show the flow and movement of the garment by adding curved lines and soft folds.
- For dynamic poses, highlight where the fabric gathers or stretches, like the knees or elbows.
5. Layering and Transparency
- For sheer or layered fabrics like chiffon or tulle, use light strokes or soft colours to show transparency.
- Overlap multiple layers with different opacities to create depth.
6. Stitching and Seams
- Show stitching, hems or topstitch details to add realism to your design.
- Use dashed or dotted lines for stitching.
7. Accessorising with Detail
- Draw small details on accessories like the clasp of a handbag, intricate shoe designs or delicate jewellery patterns.
- Pay attention to proportion so the accessories don’t overpower the outfit.
8. Play with Colour Variations
- Experiment with colour gradients for shadows and highlights.
- Use complementary colours to make it pop.
Adding these techniques to your fashion designer’s drawings will make your work stand out and convey your design vision. The more detailed and polished your illustrations the easier it is for others to understand and love your design concepts.

